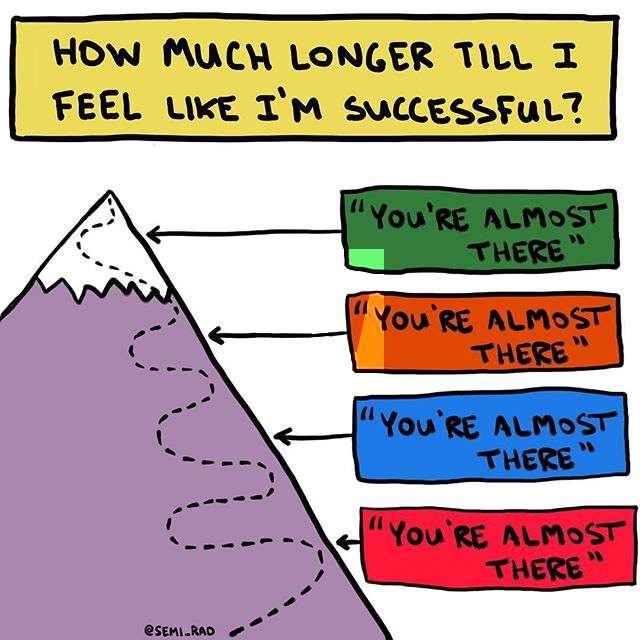
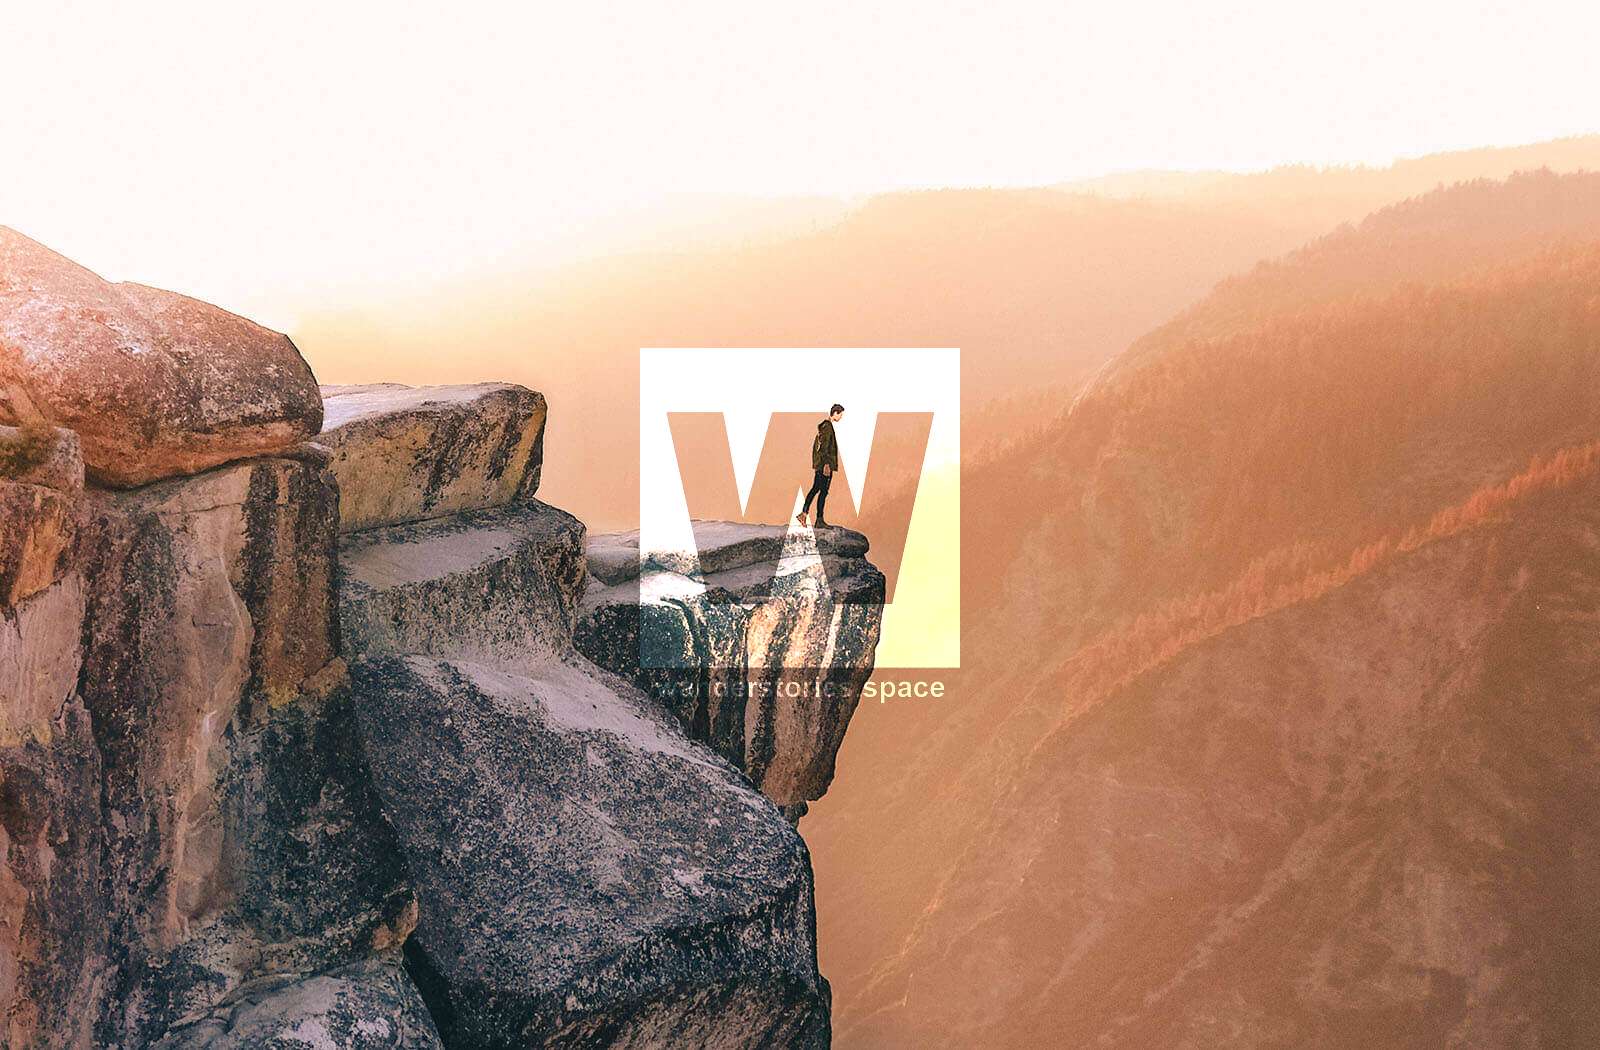
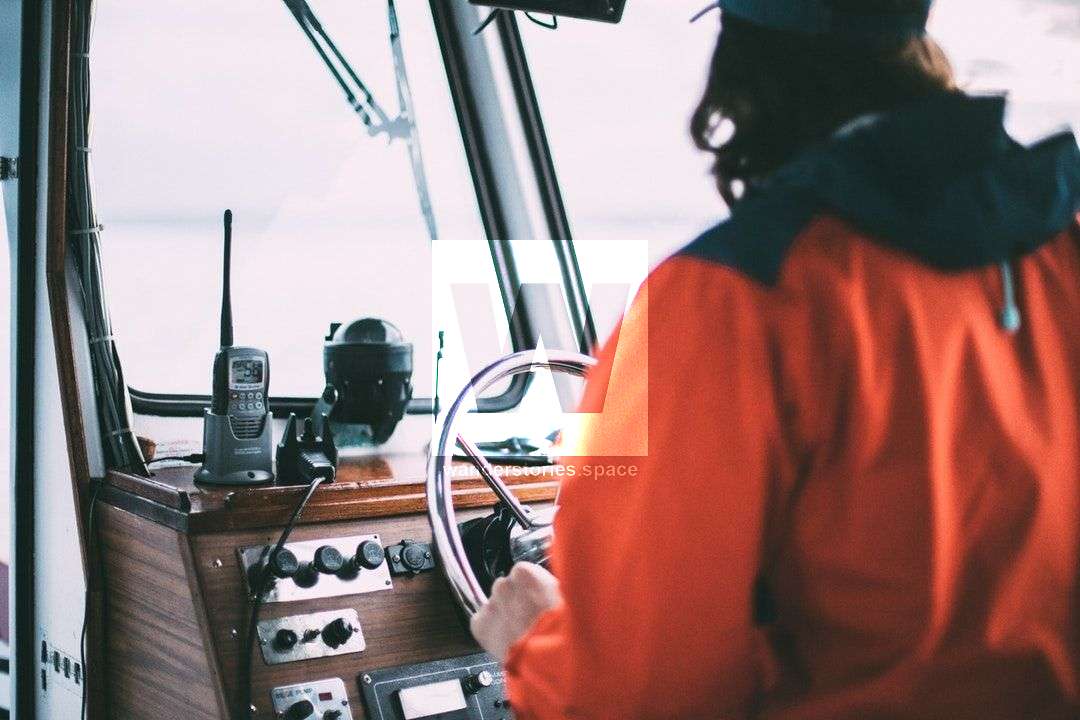
Becoming An Adventurer
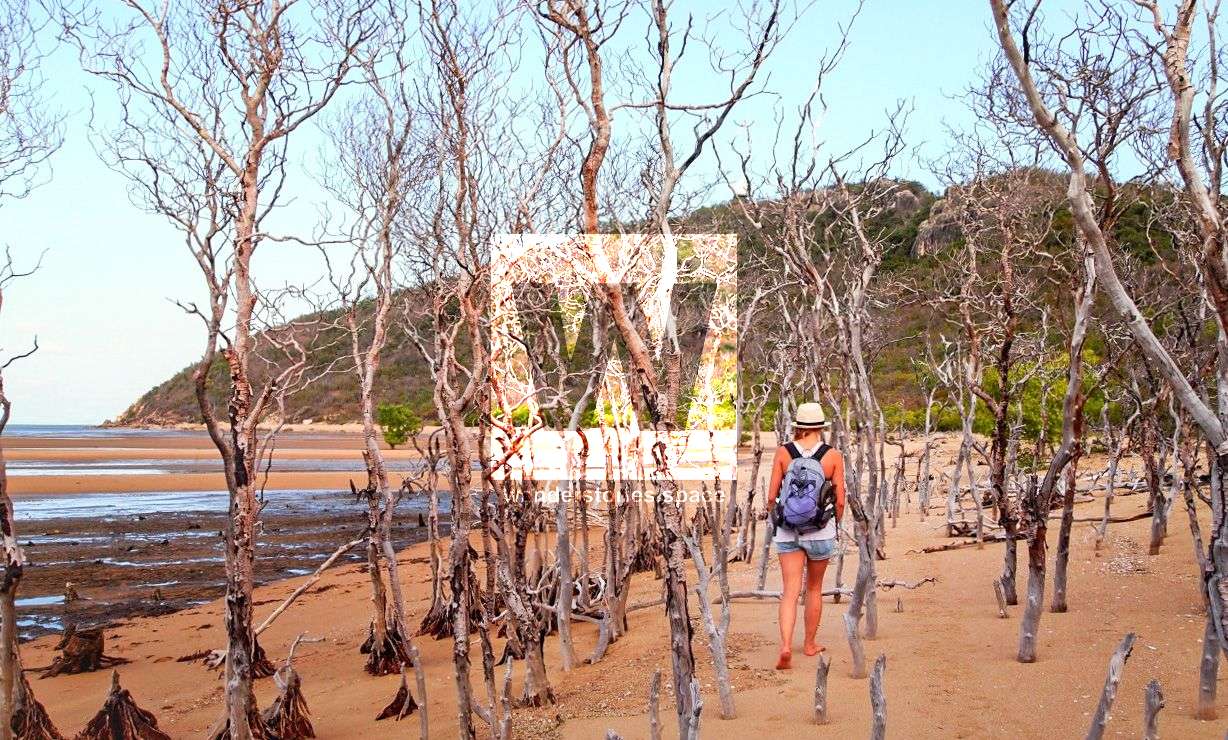
Getting outdoors is truly something special, and going out at least once a week is so enjoyable. Discovering a new canyon, a cool rock formation in the middle of nowhere, or a complete caving system can give you thrills just thinking about it.


A guide to the great outdoors
Getting outdoors is truly something special, and we all enjoy going out at least once a week. Discovering a new canyon, a cool rock formation in the middle of nowhere, or a complete caving system can give you thrills just thinking about it. You may have been the only one there, albeit very unlikely.
There are far too many things to cover in this article, but these general guidelines and tips will get you started on the right path. Keep in mind that this is mainly aimed at exploring off-track but applies to all avenues of outdoor life.
Plan Your Route, Camping Considerations, Water, Estimating Time, Food & Bush Tucker, Resources, Plan Your Gear & Check The Weather, Navigation, Don't Leave Breadcrumbs!, Leave No Trace, Safety Equipment, Going Ultralight
Do Your Research! Plan & Plan and Plan Again
Give Abraham Lincoln six hours to cut down a tree, and he'll spend the first four sharpening his axe. - Author Unknown
Plan Your Route
If you're new to hiking and exploring, do yourself a favour and join your local bushwalking club and/or head out with other like-minded adventurers first.
Bushwalking is the Australian term for hiking, tramping, trekking, hill walking, or rambling.
Planning an adventure requires more than merely deciding where and when. whether or not it's a weekend trip with friends, an educational outdoors program, or a significant expedition, you wish to gauge your trip across a variety of factors and develop a solid plan.
Whenever you are planning an adventure, you need to determine whether the group should fit the route or the route fits the group. The group may have a range of experience levels, physical conditions, technical capabilities, and goals, in which case, your goal should be to plan a trip that is appropriate for everyone. Other times, you may have a specific trip you want to do that may be challenging or require special skills. For this kind of trip, you need to select a group that has the right qualifications to participate.
For advanced-level trips, you may need to do a more formal skill assessment. For example, if you are going to be travelling across glaciers, does everyone have experience travelling on snow, handling an ice axe, and being roped up? Will people need to know special techniques like self-arrest or crevasse rescue?
Each area will have its own distinctive set of rules and requirements. Will permits be needed? How would you obtain such permits? How long beforehand do you need to apply for a permit? Trips to remote areas might require you to apply months or even years in advance for a permit.
The point is to familiarise yourself with where you are, where you're going, and what you'll need to execute your plan. So, unless you have a fair bit of experience under your belt, it's probably best to stick to the tracks you know.
Choosing your path wisely can save you a lot of time, effort, and pain. First, find out if there are walking trails that you can use to access the destination. If there aren't, try old, abandoned miners tracks, supply routes, or even old logging roads, etc. If there are none, study the terrain and vegetation. If it's open, dry bushland, stick to the ridgelines - if the terrain is flat, you can walk whichever way makes the most sense. If it is thick rainforest, try the creeks to find your way up to the summit; when the creek gets too thick, then take a ridgeline where the vegetation is thinner. Has a cyclone been through in recent years? Cyclone Yasi knocked out the canopy in some sections of Paluma Range National Park, and it is now super thick with low growth years after it has happened.
Try not to plan difficult or extensive hikes on every day of the journey. Alter the kilometres so that you have some days when you can start later in the morning or get to camp earlier in the evening. On longer adventures, organise a rest day every five to seven days. Be sure that everyone has some time during each day to recover, read, write, watch the sunset, do the washing, dry out gear, etc. When hiking at high altitudes, individuals acclimatise at varied rates. You may have to adjust your adventure to provide individuals sufficient time to properly acclimatise before going higher, particularly if you're coming straight from sea level to a high altitude.
Trip Intentions
Before you set out on your adventure, let someone know the route you intend to take and the time you will be back before they should alert the authorities. Consider submitting a trip intention form with the national park or local body. Know the times you expect to reach camp, sunset and sunrise times, tide times (if applicable), distances, major climbs and descents, what food you'll eat when and where, how much water you'll need for each leg of the journey, if there's anywhere you can replenish your supplies, and the weather you expect and might not expect.
Here's a collection of resources to help you decide how best to leave your trip intentions with somebody responsible - where you are going, what you are doing, emergency contacts and so on; or to create your own Trip Intentions Form.
You can learn so, SO much from other experienced adventurers. I've hiked and camped with many older and more experienced people over the years, the oldest person being over 70 years old and an adventurer all of his life. You never stop learning! Tell them your plans, find out their thoughts, what they'd do, and how they'd do it. Wisdom is the application of knowledge, experience, and understanding. Knowledge is powerful, but wisdom is priceless!
Camping Considerations
You need to make sure that, at the end of the day, you will have a place to set up your tent or hammock that isn't in the middle of a bog, in a rocky creek, perched on a steep rock slide, or located next to decaying, shear cliff line. Unfortunately, sometimes you don't have the information you need to determine a good campsite in advance, meaning you'll have to locate a spot as you hike. This becomes easier with experience.
More than once, I've looked at the map contours and thought, "That looks flat; there must be a good campsite there," only to discover thick underbrush with no open spaces or boulders covering the landscape. FATMAP is a useful tool for estimating flat and steep areas.
Preferably, you want a site near a water source; otherwise, you may need to carry in enough water for dinner, breakfast the next day, and maybe even the next day's hike. Will you need a 10-litre bladder? Is the water supply reliable at all times of the year? Is the water drinkable? Should it be treated?
If you don't know of a specific campsite, start looking for potential sites early in the afternoon. It's better to stop at a good campsite earlier in the day and make up the kilometres the next day, rather than continuing, only to find nothing appropriate for camping. Consider taking a hammock if your trip involves a lot of uneven terrain and unknown if there are flat spots to set up a tent, for example, a creek.
Water
The water from a fast-flowing stream might look extremely clear and pure, but it can harbour some very nasty bacteria and parasites. Water purifying tablets, which can be made of chlorine, iodine, or other chemicals. Depending on the chemical, it may make the water taste a bit odd, but there may be a neutralising tablet to counteract this. There are also some other methods like ultra-violet (UV) sterilisation, micro-filtration (e.g., a ceramic microfilter), and heat (i.e., boiling).
Personally, Aquatabs chlorine tablets work the best for me when on a fast-paced, hard hike or when on a pleasant Great Walk, I would often take a Sawyer microfilter in a gravity feed setup.
Boiling your water is the simplest method. At sea level, water needs to be boiled for a minute to make it safe to drink. For every 300 metres, you find yourself above sea level, boil for an extra minute. Not only does it enable you to purify your drinking water, but the process of boiling certain foods can render them edible by destroying bacteria, parasites, and other harmful things - but not everything (e.g., heavy metals).
Estimating Time
Timing is everything. There are many environmental factors that can impact your route. Getting a truly accurate estimation of hiking times is difficult because there are so many factors, which can include the group's physical condition, pace, and group size, the terrain and vegetation, the elevation gain/loss, setting up abseils, amount of weight being carried, rest stops, how much the group wants to stop and enjoy nature, the potential for photography, etc. not to mention the head and seasonality effect of travel times and logistics.
In a group, people of different ages or with different physical abilities and skillsets may travel slower or faster, which could change the pace of the entire team. As a general rule, larger groups move more slowly than smaller groups; there are more stops for pack adjustments, bathroom breaks, abseils take longer, etc. Longer hikes (multi-dayers) require a heavier pack, which can slow down the pace as well. Even though the pack gets lighter as the days pass, you will also grow more fatigued, which will tend to even out the pace, despite the lighter pack, in my experience. For longer hikes, it is best if you have a light base weight and lots of food 😅.
An average person's hiking speed on generally flat terrain is about 4 to 5 kilometres per hour; add 1 hour for every 305 meters (1,000 feet) of ascent and about 5 minutes of rest for each hour of hiking, plus meals, etc.
There is a basic formula that can help you calculate your estimated travelling time. Divide the number of kilometres to be hiked by the average pace. Note that trails are around 4 km/h and creek rock hopping is about 0.6 km/h. Also, remember that you will be zigzagging down creeks and rock hopping, and so it could end up being a much longer distance in theory. Your overall average speed could end up being closer to 2.6 km/h. Calculate the total meters of ascent, divide it by 305, and multiply that number by 1 hour. Also, remember to factor in time for rappels, climbing, rescues, etc. Finally, consider how the weather, altitude, and terrain could affect your timings. Adjust the formula to suit your needs, and use it only as an estimate.
Formula:
(km travelled ÷ average pace) + (elevation gained ÷ 305) + (km travelled x 5 minutes) + (lunch breaks, etc.) + (optional activities like rappels, climbing, rescue, etc.) = estimated hiking time
So an example formula is:
(15 km ÷ 2.6 km/h) + (400 ÷ 305) + (4 km x 5 minutes) + (lunch break) + (one rappel) = estimated hiking time
(5 hours and 46 minutes) + (1 hour and 18 minutes) + (20 minutes) + (40 minute lunch) + (30 minutes to rappel) = 8 hours and 2 minutes
Once you are hiking, check your actual time against the time you calculated for your route. By keeping a daily logbook with information on hiking times, trail conditions, rest breaks, etc., you can refine your estimates over the duration of your journey. Use your actual time travelled to revise your calculations for the next day(s) of your journey. If there are significant discrepancies, you may be required to revise your route plan. I log all of my trips using a Garmin Fenix 5X smartwatch that syncs with Garmin Connect, Strava, and TrailForks. Collecting these data can help you and others - if you share it - to learn from and plan future trips.
Planning long-distance trips are entirely different from planning day trips. Once you get into multi-week or multi-month trips, it's impossible to carry all of your food on your back, so you have to start thinking about resupply (or potentially sledding your supplies). Develop some sort of meal rotation so that you don't have to eat the same 'pasta and tomato sauce' dinner every night.

Food & Bush Tucker
It is important to have food that is both nourishing and palatable. On longer trips with specialised activities or in different climates, it may be necessary to plan a menu that supplies a specific number of calories per day and emphasises certain food groups over others. Freeze-dried meals, such as Back Country Cuisine, can be ideal, as they are lightweight and small in size, and can even serve as emergency backup meals as well. You could always bulk them up with a bit of couscous.
It's not all about the lightest food you can carry. You also have to consider the nutritional value of the food you take (i.e, a healthy balanced diet) and the importance of carrying not only lightweight food but also the cooking times - especially for fuel stoves.
It's a good idea to know the plants surrounding you, which ones are dangerous, and which are edible. In the North Queensland rainforest, if you simply brush past the gympie gympie or stinging tree (Dendrocnide moroides), it can cause severe pain that can last up to two years. Knowing how to treat it properly can help relieve the pain.
Similarly, when you're running low on food, knowing which plants are edible can help you supplement your diet. The gympie gympie also produces watery berries that are edible, but is it worth the risk??? If you can't 100% accurately identify a plant, do not risk it. There are plenty of resources from which you can learn about edible plants. If you go down this route, spend a lot of time learning about the plants before consumption.
Resources
Investigate the guidebooks and maps for your chosen area. Contact area rangers or land managers to get more information. Inquire about permits required and safety issues, like seasonal hazards (e.g., wildfires). Talk with other people who have been to the area. If possible, check their trip logs, as they may have important information not found in guidebooks.
A great resource for Queensland Mapping is provided by QSpatial, and many titles are available on their platform, Queensland Globe; however, you can also go directly to QTopo or QImagery. The high-resolution aerial imagery and detailed topographical maps are the first things I go to. Queensland Globe also provides downloadable and printable versions of the maps. Other great maps are NSW Topo, Victoria Topo, Tasmania Topo, New Zealand Topo. I also have used TownsvilleMAPS, our local city council maps.
Smartphone
I also use Backcountry Navigator on my Android phone. I usually recommend Google phones, as they receive the first and latest updates without all of the bloatware. An Apple iPhone is another great choice. CritterMap Software LLC has also developed a new version, Backcountry Navigator XE and is available on Android, iOS, and the web. Other decent platforms are Gaia GPS, Guru Maps (formerly Galileo Maps), Lotus Maps, Avenza Maps, and AllTrails to name a few.
Smartwatch
And for my smartwatch, I've loaded the Andrew P maps onto my Garmin Fenix 5X. These maps are in a Garmin format and use a cross between Government data (e.g. contours & streams) and OpenStreetMap data (trails, etc).
Baselayer titles
Doing some adventure travelling on a remote tropical island, for example, and can't find decent topographical maps? Check out OpenStreetMap and other OSM-based services and title servers like Thunderforest Outdoor, Mapbox Outdoor, and Wanderstories Outdoor Maps. Need something more powerful or want to make your own map, you might need to dive into ArcGIS (or the free and open-source version, QGIS). We have also developed software that helps use QImagery and Strava Heatmaps on your favourite phone app - ask us for more information.
Other useful tools:
GPS Visualizer - Great for converting, plotting, and analysing data.
Simple GPX - Simplifies GPX files before sharing them.
Strava - Analyse your trip data.
TrailForks - Find your local mountain bike trails.
theCrag - Discover climbing routes.
Wikiloc, GPSies (now AllTrails) - See what others have done, and download their gpx files.
Wanderstories Maps - An interactive map to assist in trip planning.
GPX.Studio - An interactive web-based mapping application.
Facil Map - An open-source versatile online map that combines different services based on OpenStreetMap
Strava Global Heatmap - Find popular trails and hidden tracks.
TrailForks Global Heatmap - Find hidden tracks and MTB trails.
Garmin Global Heatmap - Similar to Strava's heatmap, this is an alternative.
FATMAP - a useful tool for estimating flat and steep areas.
Getlost Map - download about maps.
Relive - Overlay your track recording onto a 3D map.
Bureau of Meteorology (BOM) - Get weather forecasts and natural disaster alerts.
Rural Fire Service - Find out about current bushfires in Queensland.
QLD Traffic - Find out about road conditions, road works, and temporary closures.
First Aid Apps:
Emergency+ - Uses GPS to help a Triple Zero (000) caller provide critical location details required to mobilise emergency services.
What3Words - Each three metre square in the world has a unique three-word address that will never change. Much easier to say to than lat and long in decimal places.
Australian Red Cross First Aid - A comprehensive pocket guide to first aid and CPR.
Australian Bites & Stings - provides references to help those that are bitten or stung by a venomous animal so they can quickly determine what is the best thing to do.
Trip inventions and tracking:
Trip Intentions (website)
Get Home Safe (Smartphone app)
Trip safety - what you can do to stay safe in the bush (Bush Search & Rescue Victoria)
Outdoor Information Sheet (Victoria Police)
Trip Intention Form (NSW National Parks & Wildlife)
Adventurous Journey Intentions Sheet (Duke of Edinburgh Australia)
NZ Outdoor Intentions Form (NZ Mountain Safety Council).
Also see Strava Beacon - which only works when still in mobile coverage, SPOT Tracking, Garmin InReach, and Zoleo Communicator. There are several other commercial products that are also available.
Plan Your Gear & Check The Weather
These things seem pretty straightforward, but you're still reading, aren't you?
There's a lot more than just having the best and latest gear to be self-sufficient in the bush. Fancy lightweight tents, liquid fuel stoves, and expensive water filters do not make you exempt from knowing how to use the gear you have with you.
Take into consideration how the weather will affect your setup. Do you have 'the know how' to use a weatherproof fire kit in case your lighter is empty or wet? Are you comfortable pitching your tent or shelter in high wind and rain? Do you know the knots to fix your backpack or hammock if need be? Do you have wet weather gear and warm clothing? Do you know how to pack your raft, repair a punctured tyre, or fix your flooded motorbike? How appropriate is the gear you take for the environment you're in?
How many hours of daylight in the season will there be? Check the internet for sunrise and sunset times and the average high and low temperatures. How will the season determine the weather? Are storms, flash flooding, or particular weather patterns likely? How could the weather affect the adventure? How could it affect the safety of the group? Will altitude changes throughout the trip impact the temperature or weather? Contact area rangers for last-minute trail information.
Have another look at the weather before you head out. Wet rocks are slow going and can be dangerous. Is that $1 poncho from your last Vietnam trip going to keep you dry and warm? Are those old shoes you haven't worn for years going to hold up? What about your dad's flannel shirt that he gave you? Perhaps that $12 tent that was on special at Kmart might not cut it either. I'm all in favour of budget equipment and upgrading quality over the years, but those eBay and AliExpress items need to do their jobs!
Before a multi-day trip, consider taking an overnight trip to check that everything is working as expected and you're not over-encumbered.

Take A Little More Than You Think You Need
Plans change, sometimes unexpectedly. Always take a little more water and food than you think you'll need. Also, wet weather gear, warm clothing, a light, a map and compass, extra water, and an emergency meal are essential (depending on the environment).
I've been caught out by cold weather. I've had to hike back in the dark and needed to stray from the original route. I've even been caught out by flash flooding. All of these situations can be manageable if you're carrying the right gear. Being prepared and taking these precautions means you'll spend less time worrying about what could go wrong and more time enjoying yourself.
If you're canyoning in a cold place, you'll probably need a wetsuit; however, in warmer places, like North Queensland, lightweight, quick-drying sporting clothes are best and my preference for nearly all of my outdoor activities. Normal cotton trousers tend to stick to your skin. Jeans are even worse!
Are you going high altitude trekking overseas? Altitude sickness typically only occurs above 2,500 metres (8,000 feet), though some people are affected at lower altitudes, as early as 1,500 metres. Do you have Diamox and a blood oxygen saturation meter? Consider the effect of reduced oxygen and acclimatisation on your hiking pace.
A general rule of thumb - every 100 metres above sea level, the temperature will decrease approximately one-degree celsius when below the lower cloud level.
More precisely, temperature changes 9.8°C/1,000 meters if it's dry and 6°C/1,000 meters if it's snowing.

Mother nature is powerful. We are somewhat lucky in North Queensland, as the weather isn't as harsh as it is in other places in the world. If it rains, you probably won't freeze to death; however, you should still carry some wet weather gear and a shelter for your overnight trips if there's a chance it will rain.
As prepared as you may be, if push comes to shove, and things don't go as planned, know that there is no shame in turning back. Even the most experienced hikers find themselves in a 'shit storm' having to bunker down or turn back early. We must adapt to our environment, but knowledge and experience can have their limitations.
Live to venture another day.
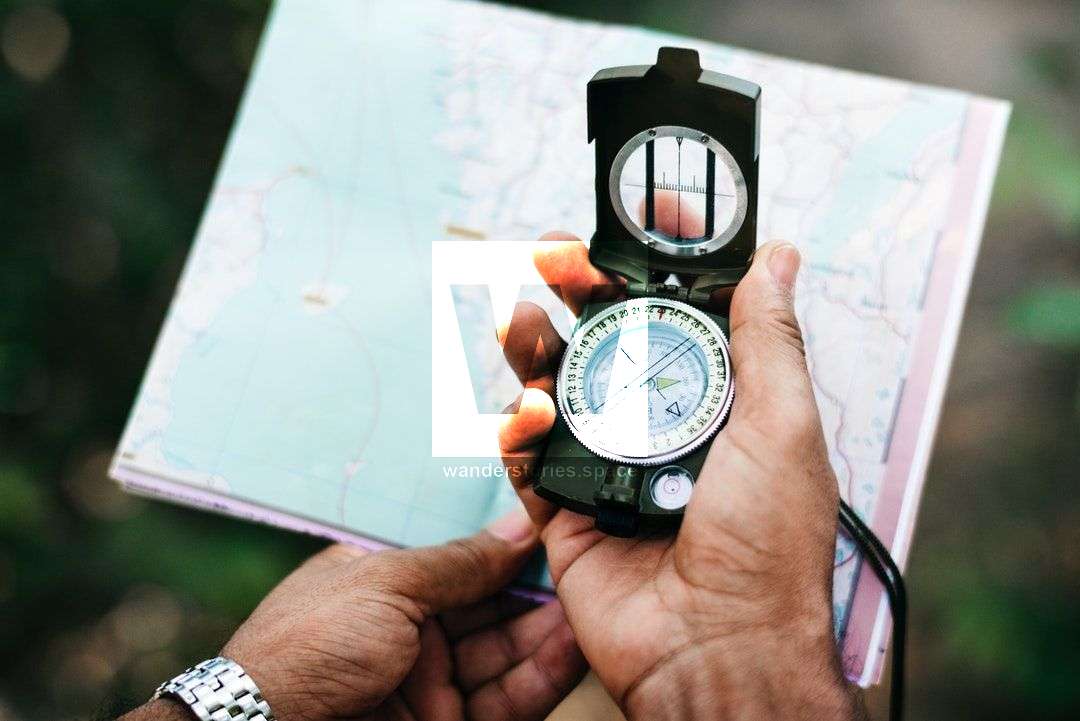
Navigation
Be One With The Old Ways
Always carry a quality compass and a paper topographical map with you, and know how to use them; you should not rely solely on your phone's GPS. That's not to say that you shouldn't use a GPS to confirm your location. Before trusting your phone's compass, you should regularly check its accuracy. In most cases, the phone's compass will be wrong, at least in my experience.
Tip: Turn your phone to flight mode to save battery. The phone will still receive the GPS signal. If there's a battery saving mode available, turn that on, but note it may interfere with some GPS-recording apps like Strava.
Look behind yourself frequently, monitor your progress on the map, become situationally aware, and then you'll never doubt yourself. Practise visualising the map in three-dimensions relative to where you are. Look around, and imagine the contour lines on top of the terrain that you see. Then practice committing your track to memory.
Another good idea is to keep your map dry; I like to keep mine in a Sea To Summit waterproof map case. Using a ziplock bag also works, but is not waterproof, so use a laser printer (not an inkjet).
Though sometimes navigation can be hard, such as dense rainforest or cloud cover. It's easy to visually navigate on a clear day but when clouded in, it is also very easy to become disorientated.
Take Photos
If there's a map of a walk, take a picture of it. It's better to refer back to the picture than your memory. Snap pictures along the trail. Besides, you'll need something to share on social media, but more importantly, you'll want to look back to and reminisce.
Look To The Sky
Practise navigating using the night sky (the moon, planets, and stars) as well as using solar navigation. Develop knowledge of celestial references within your hemisphere; note the direction of north, south, east, or west based on the position of constellations, sunrise, sunset, and/or your shadow direction and height. The compass is king in close or confusing terrain, but the night sky guides us best in wide-open spaces.
Don't Leave Breadcrumbs!
Do not go blazing trees, using surveyors tape (flagging tape), or spray painting rocks behind you unless you are an experienced trail marker, have appropriate permissions and/or permits, and have set out for that purpose; if that's the case, you should only use tape for the initial trail making process and then more permanent reflective metal markers afterwards - not paint! Consider using the ScotchBlue painter's masking tape as it biodegrades faster but is less visible. Note that permanent reflective, high visibility marks are recommended so you can easily see them during the day and night. You also shouldn't rely solely on trail markers; a well-formed, well-maintained, defined track is always better than stopping and searching for the next trail marker. Trail markers can also fall down or become hidden by vegetation, so a well-formed track is a must. If you see flagging tape on the ground, pick it up and hike it out - dispose of it properly.
If you can navigate properly, you won't need to mark the trail as 'just in case'. If you are marking the trail, you're not only ruining it for others as they try to follow your (possibly) poorly positioned markers, you're out of your depth and shouldn't be there in the first place. Those rock cairns may also lead others astray.
You should avoid marking creeks wherever possible. Leaving surveyors tape (or temporarily using it), is the same as littering and there's a good chance that the plastic is washed out to the ocean in the next wet season. The UV from the sun, animals, and other things can damage the temporary tape quickly. You wouldn't leave rubbish behind, so don't like plastic tape tied around trees!

Leave No Trace
The phrase 'Leave No Trace' (LNT) defines modern outdoor philosophy. It represents a set of guidelines based on minimising your impact, but such guidelines haven't always been around. In the early 1900s, the bush was taken for granted; Individuals would cut, move, and burn whatever and whenever they needed. As environmental knowledge and awareness has grown, the focus has shifted toward conservation. The 'burn-bash-bury' practice and way of thinking is very ancient and these days, you should pack all your rubbish out with you. Better yet, take a bag with you and 'take three for the sea' or wherever else you find yourself.
'Leave No Trace' is all about protecting environments in their natural state, which is what national parks set out to do. 'Leave No Trace' ensures that everyone can enjoy the natural beauty of the outdoors in harmony; so, this point is the foundation of respect for the park as a whole, rangers, traditional owners, and other visitors. The 'Leave No Trace' principles does not only apply to national parks, but applies to all land including (but not limited to), state government, local council, and private property.
Avoid busy periods, as high traffic puts undue pressure on wild spaces, and you may even get the areas all to yourself! Walk in small groups of around 4-8 people, especially when going off-track. Small groups also put less strain on the environment than larger groups by having less disturbance to the soil, vegetation, and wildlife. Keep your voices and other sounds to a minimum as noise has been proven to affect wildlife.
"Shortcuts may allow you to reach your destination with haste, alas it is the entire journey in which true solace is found"
Hiking is where a lot of damage can happen. The best way to minimise your impact is to stay in a single file and stick to the track! Avoid taking shortcuts, which can cause erosion. Veering off the track (to avoid mud, other people, or that Instagram-worthy photo) can lead to trail-braiding, which is ugly, spreads out the impact, and drastically increases erosion. It is recommended to take secateurs and keep the existing path clear to avoid trail-braiding (don't do this within National Park). Block offshoots of a track that have developed due to a high volume of people going the wrong way and created a compacted path. Read the Walk Softly article by Queensland Government.
Georeferencing and geotagging have caused a lot of issues in the past, consider not disclosing the precise locations of your photos.
Attempt to "ghost" canyons and climb trad (traditional protection), and highline off natural gear when possible. This means removing old, unsafe or unnecessary webbing and gear. Avoid bolting rocks if there's adequate natural protection available, and only do so if you have experience bolting in that type of environment.
Avoid lighting fires on rocks and in creek beds. Fire scars are ugly and permanent. Use common sense and be fire smart; avoid starting fires on dry, windy ridgelines, saddles, etc. When you're setting up, scrape away the top layer of vegetation, leaving mineral earth. Stay with the fire until you're done with it, and then extinguish it completely and leave it cold. When you leave, scatter the ash and coals around to make it seem as if you were never there.
It is also possible for fires to continue to burn in tree roots underground for days. So, take care when choosing your fire's location. Note that in most Queensland National Parks, open fires are prohibited.
Fallen branches and deadwood provide habitats for native animals. So, bring your own wood to popular places, or use wood that's provided to minimise the impact of your campsite. Where possible, use fuel stoves, as they have less of an impact and are usually better for cooking anyway. Dispose of waste correctly, be responsible, and don't throw waste that won't burn in the fire. Glass bottles, bottle caps, and aluminium foil and cans are often found in fire pits. 'Pack It In, Pack It Out'.
Become aware of the conservation programs and restrictions that might impact the park you're visiting. Contact the local body for advice and approval before setting out on your adventure. You might need to follow special procedures, like washing and sterilising your footwear before and after entering. Soil, seeds, and spores can stick to any gear that gets dirty while out in the wild. Help to avoid spreading diseases and invasive species by cleaning your gear before and after use.
Food waste that you leave in the bush will biodegrade eventually, and in some environments faster than others, but not before it's been an eyesore to others, has impacted the native wildlife, or even sprouted an invasive species. Pack it out! Don't feed the animals. Feeding native animals may make them sick and impact their natural behaviours. Feeding animals can also be quite dangerous, as it may encourage them to scavenge campsites for food.
#PackItInPackItOut
If you're out in the bush and you witness any illegal dumping report them to the local city council (e.g. Litter and illegal dumping Townsville City Council) and the state government (e.g. Littering and illegal dumping Queensland Government). Taking note of the vehicle's registration number, make, model, distinguishing marks, the person's appearance, time, date, and location is required to report these uneducated people.
Leave No Trace doesn't just refer to litter. Yes, we are now talking about rock cairns. Of course, stone-stacking is ancient and in some places, holds a historical significance; so creating a new rock cairn could also amount to defacing a piece of history. A cairn in Scotland is a memorial to someone lost, but they also mark a safe passage through the rugged landscapes and terrain. Stacked rocks in the shape of cairns have long been used as path indicators, but when it's done for fun, it can confuse other hikers, causing them to veer off the trail. Do not add stones to existing navigational cairns in environments that go below zero degrees celsius. Rock cairns in this environment are designed to be free draining and adding stones to cairns chinks the crevices, allowing snow to accumulate. Snow turns to ice, and the subsequent freeze-thaw cycle can reduce the cairn to a rock pile.
Not only are random cairns an eyesore, but they can also destroy ecosystems, namely freshwater. Each rock in a stream is blooming with life, everything from aquatic plants to micro-organisms that are attached to rocks and create a habitat for crustaceans and nymphs. It's really important for a number of types of life, especially young insects and amphibians; between and underneath rocks are nurseries for all kinds of forest life that begin in streams. Likewise, if everyone were to remove a rock from a creekbed, over time that could lead to erosion and loss of habitat.
Social media is partly to blame for this significant increase of this human impact. Stacking rocks and leaving them for others to see is essentially environmental graffiti. You don't need to leave your mark on the wilderness; Being completely wild away from any trace of humans is why many of us go adventuring. Rock balancing is also a form of art and meditation for many - if you do stack rocks for this purpose, please disassembled them before leaving the area. If you come across rock cairns, consider disassembling them if it is clear that they are not being used for navigation, memorials, or marking mountain summits - especially before their presence influences others to build more. Some park rangers also dismantle these rock stacks on a daily basis.

Plan to poop! Learn how to do it correctly! Use toilets beforehand and when provided. Especially in high traffic areas and/or at high altitudes, pack out faecal waste for minimum impact. Frozen poop doesn't degrade. Poo before you head into valleys and canyons. Note that human waste contaminates waterways. When you dig a hole, make sure it's at least 15 centimetres deep and 100 metres from the water, and cover it back up when you're done. You should still pack out toilet paper, wet wipes, sanitary pads, tampons, and condoms because they don't biodegrade.
Use soap and toothpaste sparingly and at least 50 metres from water; definitely do not use them in creeks, rivers, or water catchments, as they can be harmful to wildlife and contaminate drinking water. Use biodegradable options and disperse wastewater in the bush. I like using the Sea to Summit Wilderness multi-purpose wash.

Avoid single-use plastics, shop local and support bulk food places where you take your own containers. Limit the purchasing of items with plastic packaging, and remove any packaging before you go out, if possible. Do not buy bottled water. Use reusable containers for food and drink, and make your food from scratch and avoid waste in the first place. Making your own dehydrated meals is not only cheaper, but it's also very rewarding. Bring a reusable garbage bag to carry your rubbish out (and any extra rubbish that you find!) - we re-use old dry bags as reusable rubbish bags.
Reduce, Reuse, Recycle. We reduce our impact on the environment by using less electricity, fuel, and gas, but also by shopping at local markets, bulk food stores, and then everything else from the supermarket - this reduces the amount of food packaging. We reuse glass bottles as water containers around the house and we attempt to even limit our recyclables as a lifestyle choice. We are also more likely to make more sustainable and responsible choices in our day-to-day activities, where we 'vote with our dollars', so to speak. For example, we choose to buy most items without plastic packaging because we do not want that rubbish to end up in our natural and pristine spaces. Also, consider buying the fruit without plastic stickers on them - or removing them before heading out into nature.
Your actions when finding rubbish will directly impact the next person's experience. You could also be saving an animal's life, protecting the environment, and contributing to the item being recycled properly. Walking past a mess and leaving it for the next person is just as bad. Try adding a rubbish bag to your pack list so there's no excuse for leaving litter behind. Hike It Out! The ABC's War on Waste series inspires plenty of ways to reduce the rubbish we create. Sir David Attenborough urges people to "stop waste of any kind", saying the world is precious in his "witness statement". This is the last chance, we need to act now. See the David Attenborough: A Life on Our Planet and also the Climate Change: The Facts film.
Also see Litterati, a platform that maps and measures litter. By combining technology, social awareness, and art, they have built an informative database that helps uncover patterns and informs solutions in an effort into solving this problem.
Snap Send Solve is an easy and efficient way to notify your local councils, utilities, or other authorities of issues that need addressing in your community. Both Townsville City Council and TIDY, a local Facebook rubbish clean-up group, use this app. So next time you're out in the bush and you see any illegal dumping, Snap, Send, and Solve.
#HikeItOut
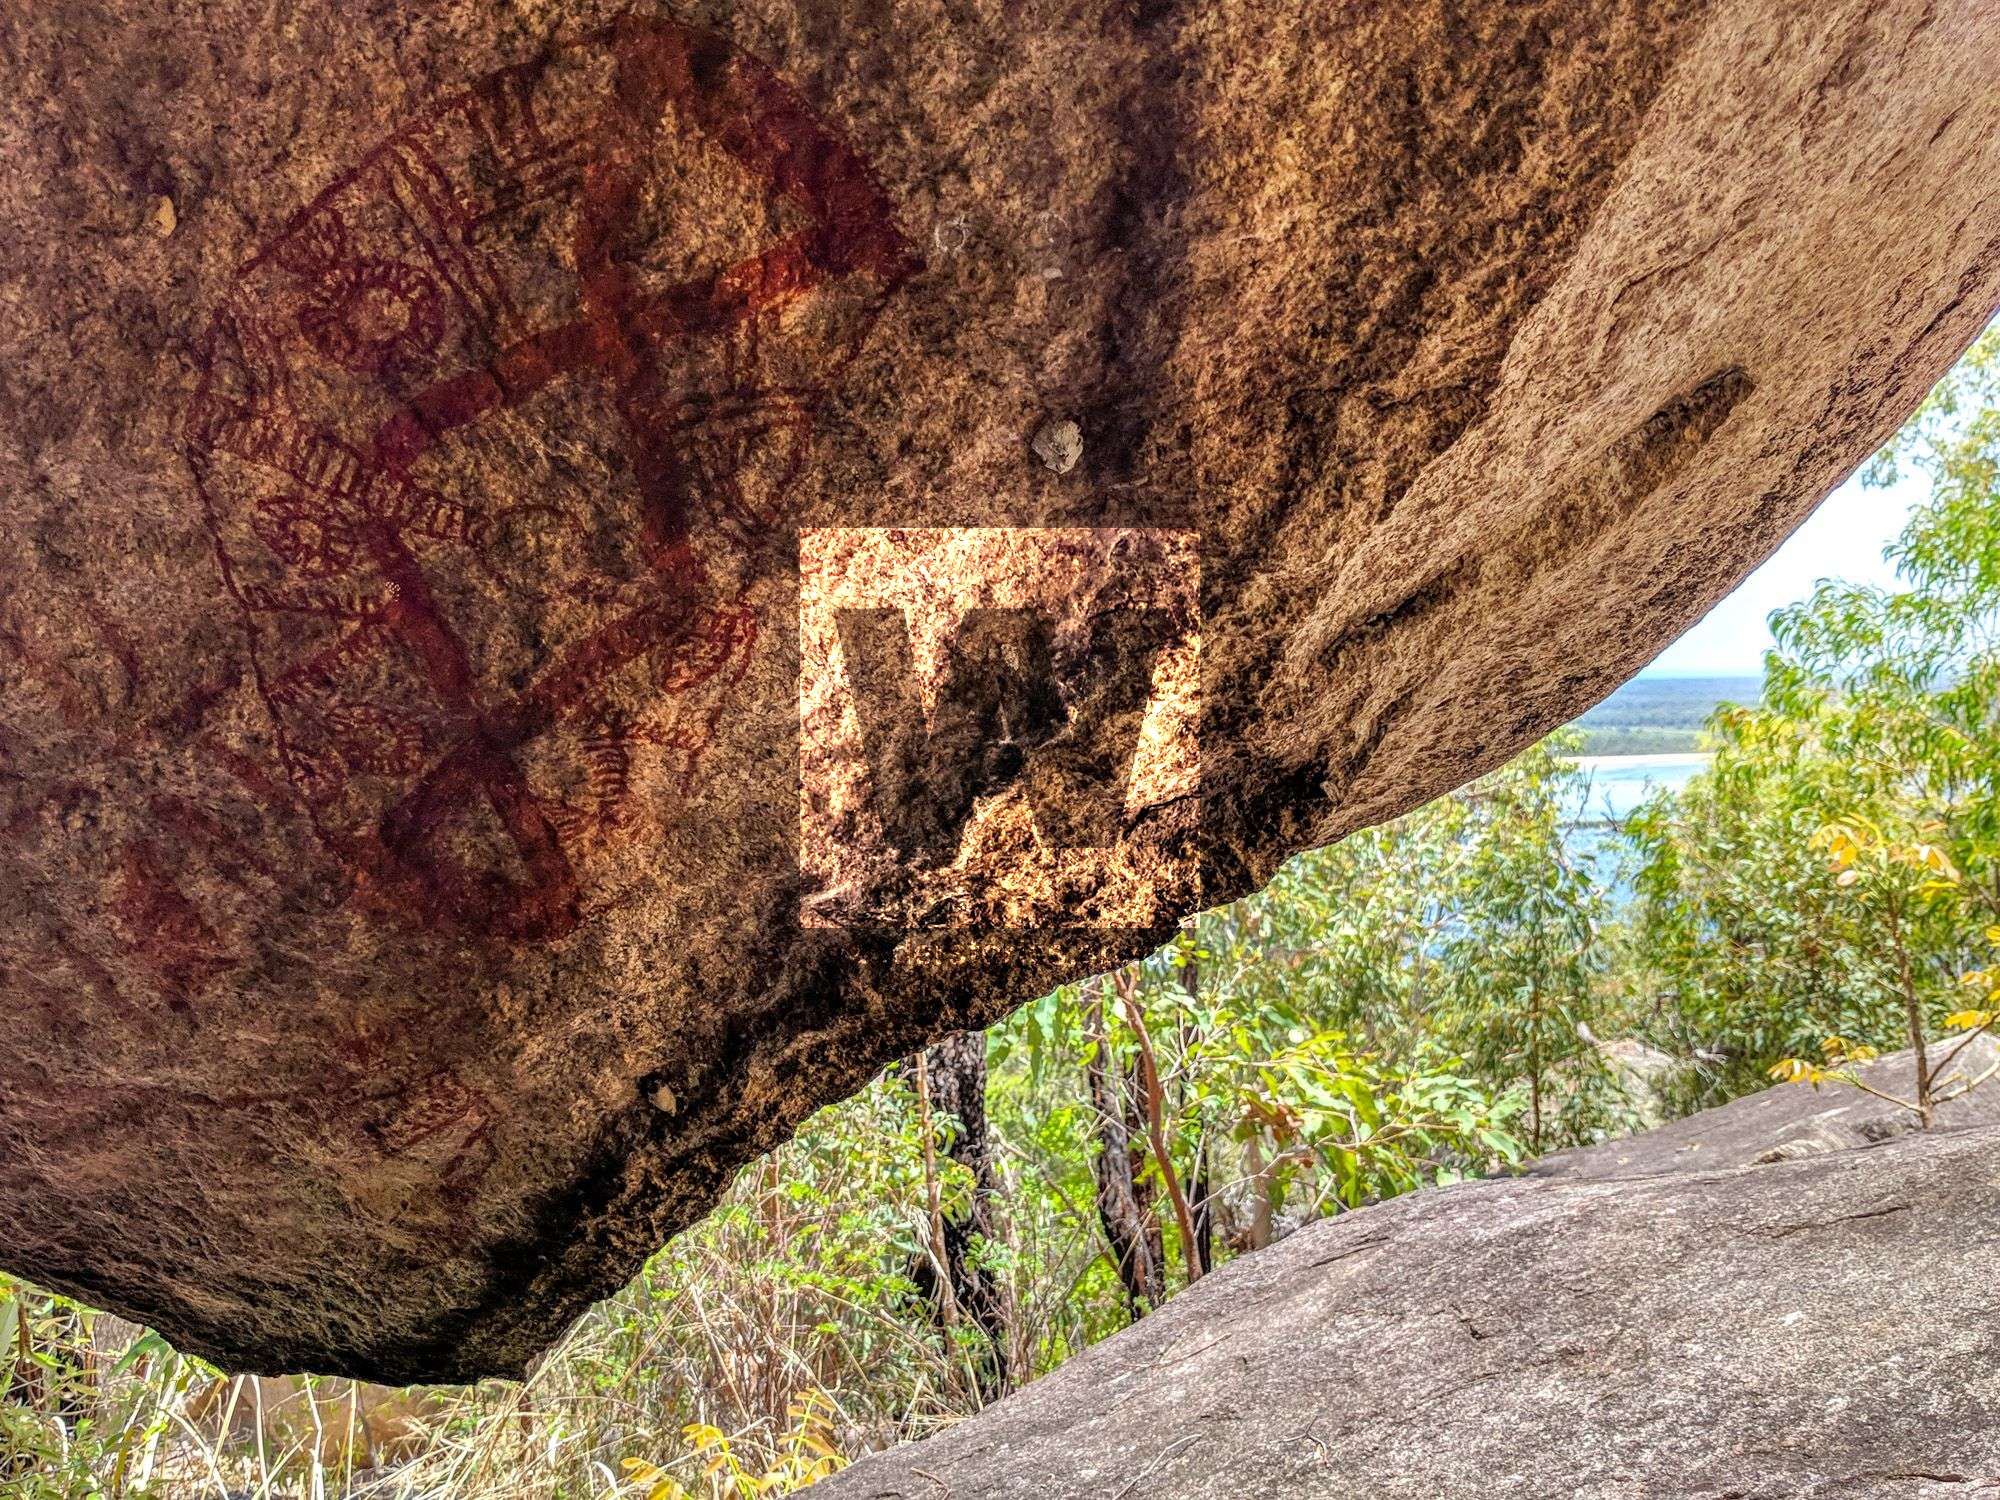
Respect Aboriginal sites and other culturally significant or historic areas by observing quietly, sticking to paths, and never touching. This is also important for nature, in general. Avoid touching trees and moss that you pass, as the damage builds up over time. At camp, avoid tying ropes to trees (avoid using hammocks), as they can easily ringbark the trees.
You've heard the phrase "take only photographs, leave only footprints" and it's a pretty damn good motto. Taking anything else from the natural environment might seem harmless on its own, but the effects quickly add up and can damage habitats. It's also disrespectful to "souvenir" objects from cultural sites, and it's against the law. The phrase could do with an update: "take only photographs (and other people's rubbish), leave only footprints (and a cleaner environment)".
How well do you really know your 'Leave No Trace' principles? Do the Cool of the Wild quiz and find out!
#LeaveNoTrace
Safety Equipment
Do not think that just because an accident hasn't happened to you that it can't happen.
First Aid Kit
Obviously, with every adventure, you should take a PLB (Personal Locator Beacon) and a first aid kit (and know how to use them). Luckily, there aren't too many deadly animals in Australia that are out to attack you.
You should have supplies for providing clean drinking water, extra food, an emergency blanket for heat, and a light. These items are important, even on short hikes. Who knows what the future holds? You could injure yourself and not be able to walk, or it could rain and take you four times as long to get back on the slippery, wet rocks.
Your first aid kit needs to be compact and easy to carry and the first thing you reach for when packing your bag for any trip.
You should have most of the following in your first aid kit:
- A Personal Locator Beacon (PLB) - a whistle can also be useful, especially in canyons
- A method for water treatment (chemical (e.g., chlorine or iodine), UV, filter, boil) - water purification tablets are light and easy - I like Aquatabs. Ideally, carry supplies to treat your water using two methods
- Two compression bandages for snake bites
- An emergency blanket for hypothermia, such as a space (mylar) blanket
- Painkillers - ibuprofen for muscular pains, paracetamol for general, and aspirin is a good complement and/or alternative
- Antihistamine - such as Benadryl (diphenhydramine)
- Antiseptic solution - such as Betadine (povidone-iodine)
- Dressings - an assortment of heavy-duty bandaids, waterproof dressings, wound pads, and a small elastic gauze bandage - Super glue can also be used to seal wounds
- Sterilisation swabs for wound cleaning
- A tube of saline for flushing eyes
- A triangular bandage for broken or dislocated arms
- Blister pads - great if you forget your second pair of socks or wear the wrong socks or shoes. I like using the Compeed Blister Medium
- A sturdy pocket knife or scissors, tweezers, and a pinhead - I use sharp-tipped tweezers and an Opinel No.8 Knife instead of a pinhead and scissors
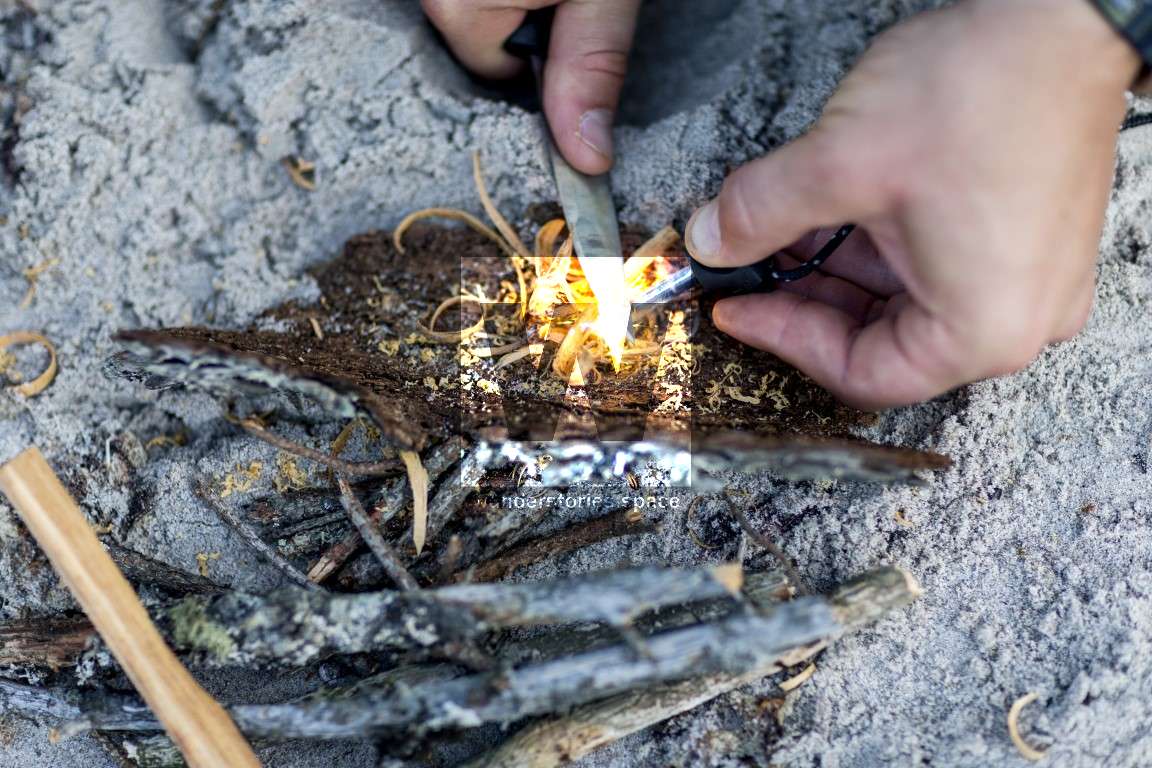
- Waterproof matches, a lighter, and/or a flint - ideally carry two methods for starting a fire.
- Rehydration/electrolyte powders - ideal for dehydration, cramps, and fatigue
- Hand sanitiser, sunscreen, insect repellent, and cash (more of a comfort thing)
For each day of the trip, you should know where or how you would go about getting help in case of an emergency.
I like to keep everything doubled dry-bagged, so everything is kept well-protected from the weather. Your kit should be small and lightweight so that there's no excuse not to take it with you.
Your first aid kit needs to be tailored to your activities, how many people you're catering for, and your knowledge of first aid. Your first aid kit is useless if you don't know how to use it. Knowing how and when to use a compression bandage will save a life, whether it be yours or someone else's. Have the knowledge and confidence to deal with everything from minor cuts to 127 hours.
Do not depend on others for safety - help yourself.
Research online and/or book into a first aid course so you can learn what to do in different situations. I also have installed the Australian Red Cross First Aid app on my phone which guides you through up-to-date first aid, even if you're offline.
Another useful app is the Emergency+ app, which was developed by Australia's emergency services, government, and industry partners. The app uses the GPS functionality built into smartphones to help a 000 or 911 caller provide critical location details required to mobilise emergency services.
Take into consideration think like flash flooding and rockfalls. Creeks and streams can suddenly and become impassable during and after heavy rain and will take at least twice as long to traverse. Loose and chossy land like that on some creek edges can be the cause of some accidents. Warren MacDonald lost his legs when ascending Willawalla Creek on Hinchinbrook Island - a large boulder shifted underfoot; the shift caused the boulders to roll and therefore physically crush his legs.

Communicate Distress
Many places in Australia do not have mobile reception, which renders your phone useless for much of your hike. There are a few options to ensure you can call for help; consider a satellite phone, UHF radio, safety whistles, signal mirrors, morse code, or flares. My personal favourite and the most reliable is a Personal Locator Beacon (PLB), which costs about $300 and lasts 7-10 years. It's very similar to an EPIRB but without the yearly registration costs. I use the Ocean Signal RescueMe PLB1, as it is waterproof, super small, and lightweight.
These small units work by transmitting a distress signal - in fact, they transmit two signals: a 406 MHz (which carries the UIN and GPS data to the satellites) and a 121.5 MHz (a homing frequency) signal. These frequencies are constantly monitored by emergency services. There's no better way to spend your money than on a PLB, especially if you're planning solo adventures.
If in larger groups, consider taking a handheld UHF 5 Watt radio to communicate with the leader and the "tail-end Charlie" (last person).
Communication with your partner and team is crucial with high-risk activities. Accidents can be caused by lack of or simply poor communication, especially in roped activities. Establish the meanings of hand signs, noises, and words beforehand, and make sure everyone clearly understands them.
Trip leaders also need to consider the group dynamics and morale. Study the group members to recognise changes in behaviour that might be a signal for distress, e.g., a chatty person might become very quiet when anxious or the other way around.
Establish A Call-Out Procedure Or Sign In
If there is a logbook, use it; just make sure you sign out afterwards.
If you are going somewhere remote, make sure you let someone reliable know. For example, I let my parents know the following:
- Where I'm going and the route I've planned on taking (try to stick closely to the route)
- Who I'm with (and ideally, the vehicle number plate or colour/make/model or other transport methods)
- When I plan to start and finish
- The cut-off time after which they need to contact emergency services
- The number or details of who they need to contact (it may be Parks, Police or local emergency services, depending on where you are)
The process is simple; if you don't call or message them to confirm you're back safely, they notify the emergency services.
Going Ultralight
Some people bring everything but their house in order to feel comfortable in the outdoors. All of that weight has an impact on hiking speed, your joints, how many kilometres you can cover, what you can see, and simply the pure pleasure of hiking. You could write an entire book about this topic, but for now, let's just scratch the surface.
Think about those great day hikes you've been on with lightweight boots and a small day pack on your back; you just speed through the day and don't feel completely exhausted at the end. Then, you come back to the same place for a multi-day trip and you have 20+ kilograms on your back; where you were flying before, you're now just trudging along. But there is an alternative; ultralight backpacking is as close to flying on the trail as you can get.
There's been a revolution in the availability of ultralight clothing, sleeping bags, packs, stoves, and shelters. Each year, the technology improves and outperforms last year's stock in all aspects. For example, check out ZPacks Duplex Flex ultralight two-person tent which only weighs 539 grams, or their tarp tents such as the Hexamid Pocket Tarp (130 grams), or the Hexamid Pocket Tarp w/ Doors (172 grams).
Although ultra-high molecular weight polyethylene (UHMWPE) has been around since the 1950s, new developments in the past decade or two have seen this material used in newer ways. Now it's commonly used from the fabric used in ultralight tents and backpacks, the cord used four-wheel drive winches, and to being woven into rock climbing slings. This newly redefined material has several names such as Dyneema Composite Fabric (DCF) (formerly Cuben Fiber (CTF3)), or Spectra Fiber, and it is revolutionising ultralight equipment by cutting down the weight of ultralight packs, etc.
'Base Weight' is the total weight of your entire gear kit, excluding consumables which are food, water, and fuel. Consumables are not included because the amount varies by trip length and conditions. Conventional backpackers carry a typical bag weight of 15-20 kg, a lightweight backpacker (LW) carries a base weight under 9 kg, an ultralight backpacker (UL) carries a base weight under 4.5 kg, and a super-ultralight backpacker (SUL) carries a base weight under 2.25 kg.
Typically, ultralight packs forego a frame altogether. As base weight is reduced, so does the need for a pack with a frame that reduces the bag weight. The backpacks rely on you to pack your bag light enough and correctly by building enough of a frame using your items to transfer the weight. Some have a very light hip belt, while others have no hip belt at all. If you keep the weight low enough, you'll comfortably carry the weight on your shoulders. If you do a lot of outdoor activities like myself, you'll have a different bag and equipment for each occasion. Typically people replace heavy items with lighter ones, such as switching out a stainless steel cooking pot to a titanium one (or going without one completely and "cold-soak"). Another option is to exchange fully-featured products for lighter, less-featured minimalist products.
However, choosing ultralightweight products comes with a price, and it's not just the price tag. These items may not be as durable as their heavier counterparts. Don't be fooled into thinking that the only factor you need to consider is weight. Flexibility in a garment, like its venting capability, can make something useful over a much broader temperature range. Also, some items can serve dual purposes, such as a rain poncho that doubles as a tarpaulin for an emergency shelter. Ultralighters hate duplication; they will often choose a multi-functional item over a single-function item every time.
For example, New Zealand Mountain safety bags can have several purposes. They can be used primarily as pack liners (dry bag), but would also serve the purpose as an emergency shelter/bivy, be worn as an emergency rain/wind jacket, and can also be used as a signal. There are also several commercial products such as ponchos that can also be used as a shelter, and trekking poles can be used as tent poles.
Most serious lightweight hikers modify their items to reduce each item's weight, such as cutting off the handles of toothbrushes. Some people also reduce weight by carrying the minimal amount of consumables needed for a trip, buying freeze-dried meals and sticking to the suggested serving sizes, or refilling water bottles at each stream you cross instead of carrying a day's worth of water. This not only includes food and water, but also fuel, toiletries, etc. This can be achieved by estimating each day's exertion based on elevation, distance, fitness, and estimating calories and nutritional intake needed.
These days lightweight hikers use polycro (also known as polycryo or just poly which is a polyolefin shrink film for windows) as an ultralight groundsheet ~50 grams. Previously, people were using tyvek as a groundsheet which is heavier but more durable.
If hiking with others, determine which items can be shared, such as a tent and cooking gear. This gear can then be divided among the group. Gain knowledge and practise skills that can replace fully-featured equipment.
The best thing you can do to reduce your base weight is by weighing every item you want to take and reviewing your choices to see where you can cut down. Try using the Lighterpack website.
This article may seem pessimistic and long-winded, but it is meant to get you prepared and to consider the possible consequences of your actions.
Learn from your previous trips, educate yourself, plan well, and act intelligently; then, you'll be rewarded with beautiful experiences. Your experiences can continue to brew your never-ending appetite for adventure and feed your hungry soul.
Isn't it funny how, once we get back to civilisation, we instantly forget about the discomforts we've experienced, that type 1.5 & 2 fun, and that we can't wait to get back out there again?
Get out and enjoy it! Then, come back safely, and share your adventure with friends. Start small, be prepared, and be safe!
Most photos are mine or my sister's; however, some were purchased from Adobe Stock or from Unsplash.This article, and all other articles, are for entertainment purposes only and are not to be used as a guide. Please see our Disclaimer for more information.