How to Abseil


Abseiling, also known as rappelling, is a technique used to descend cliffs and other steep inclines. It is a useful skill to have for rock climbing, canyoneering, and other outdoor activities, such as remote hiking. If you are new to abseiling, it is important to learn the proper techniques and safety measures to ensure a successful and enjoyable experience.
It must be said that this isn't something you should teach yourself and that professional advice should be sought.
Here is a basic guide to abseiling:
- Choose the right equipment. You will need a static rope, harness, carabiners, and a descender (belay device). It is important to use a reputable brand, UIAA rated, and well-maintained equipment that is designed and appropriate for the environment you will be in. Always inspect your gear before setup.
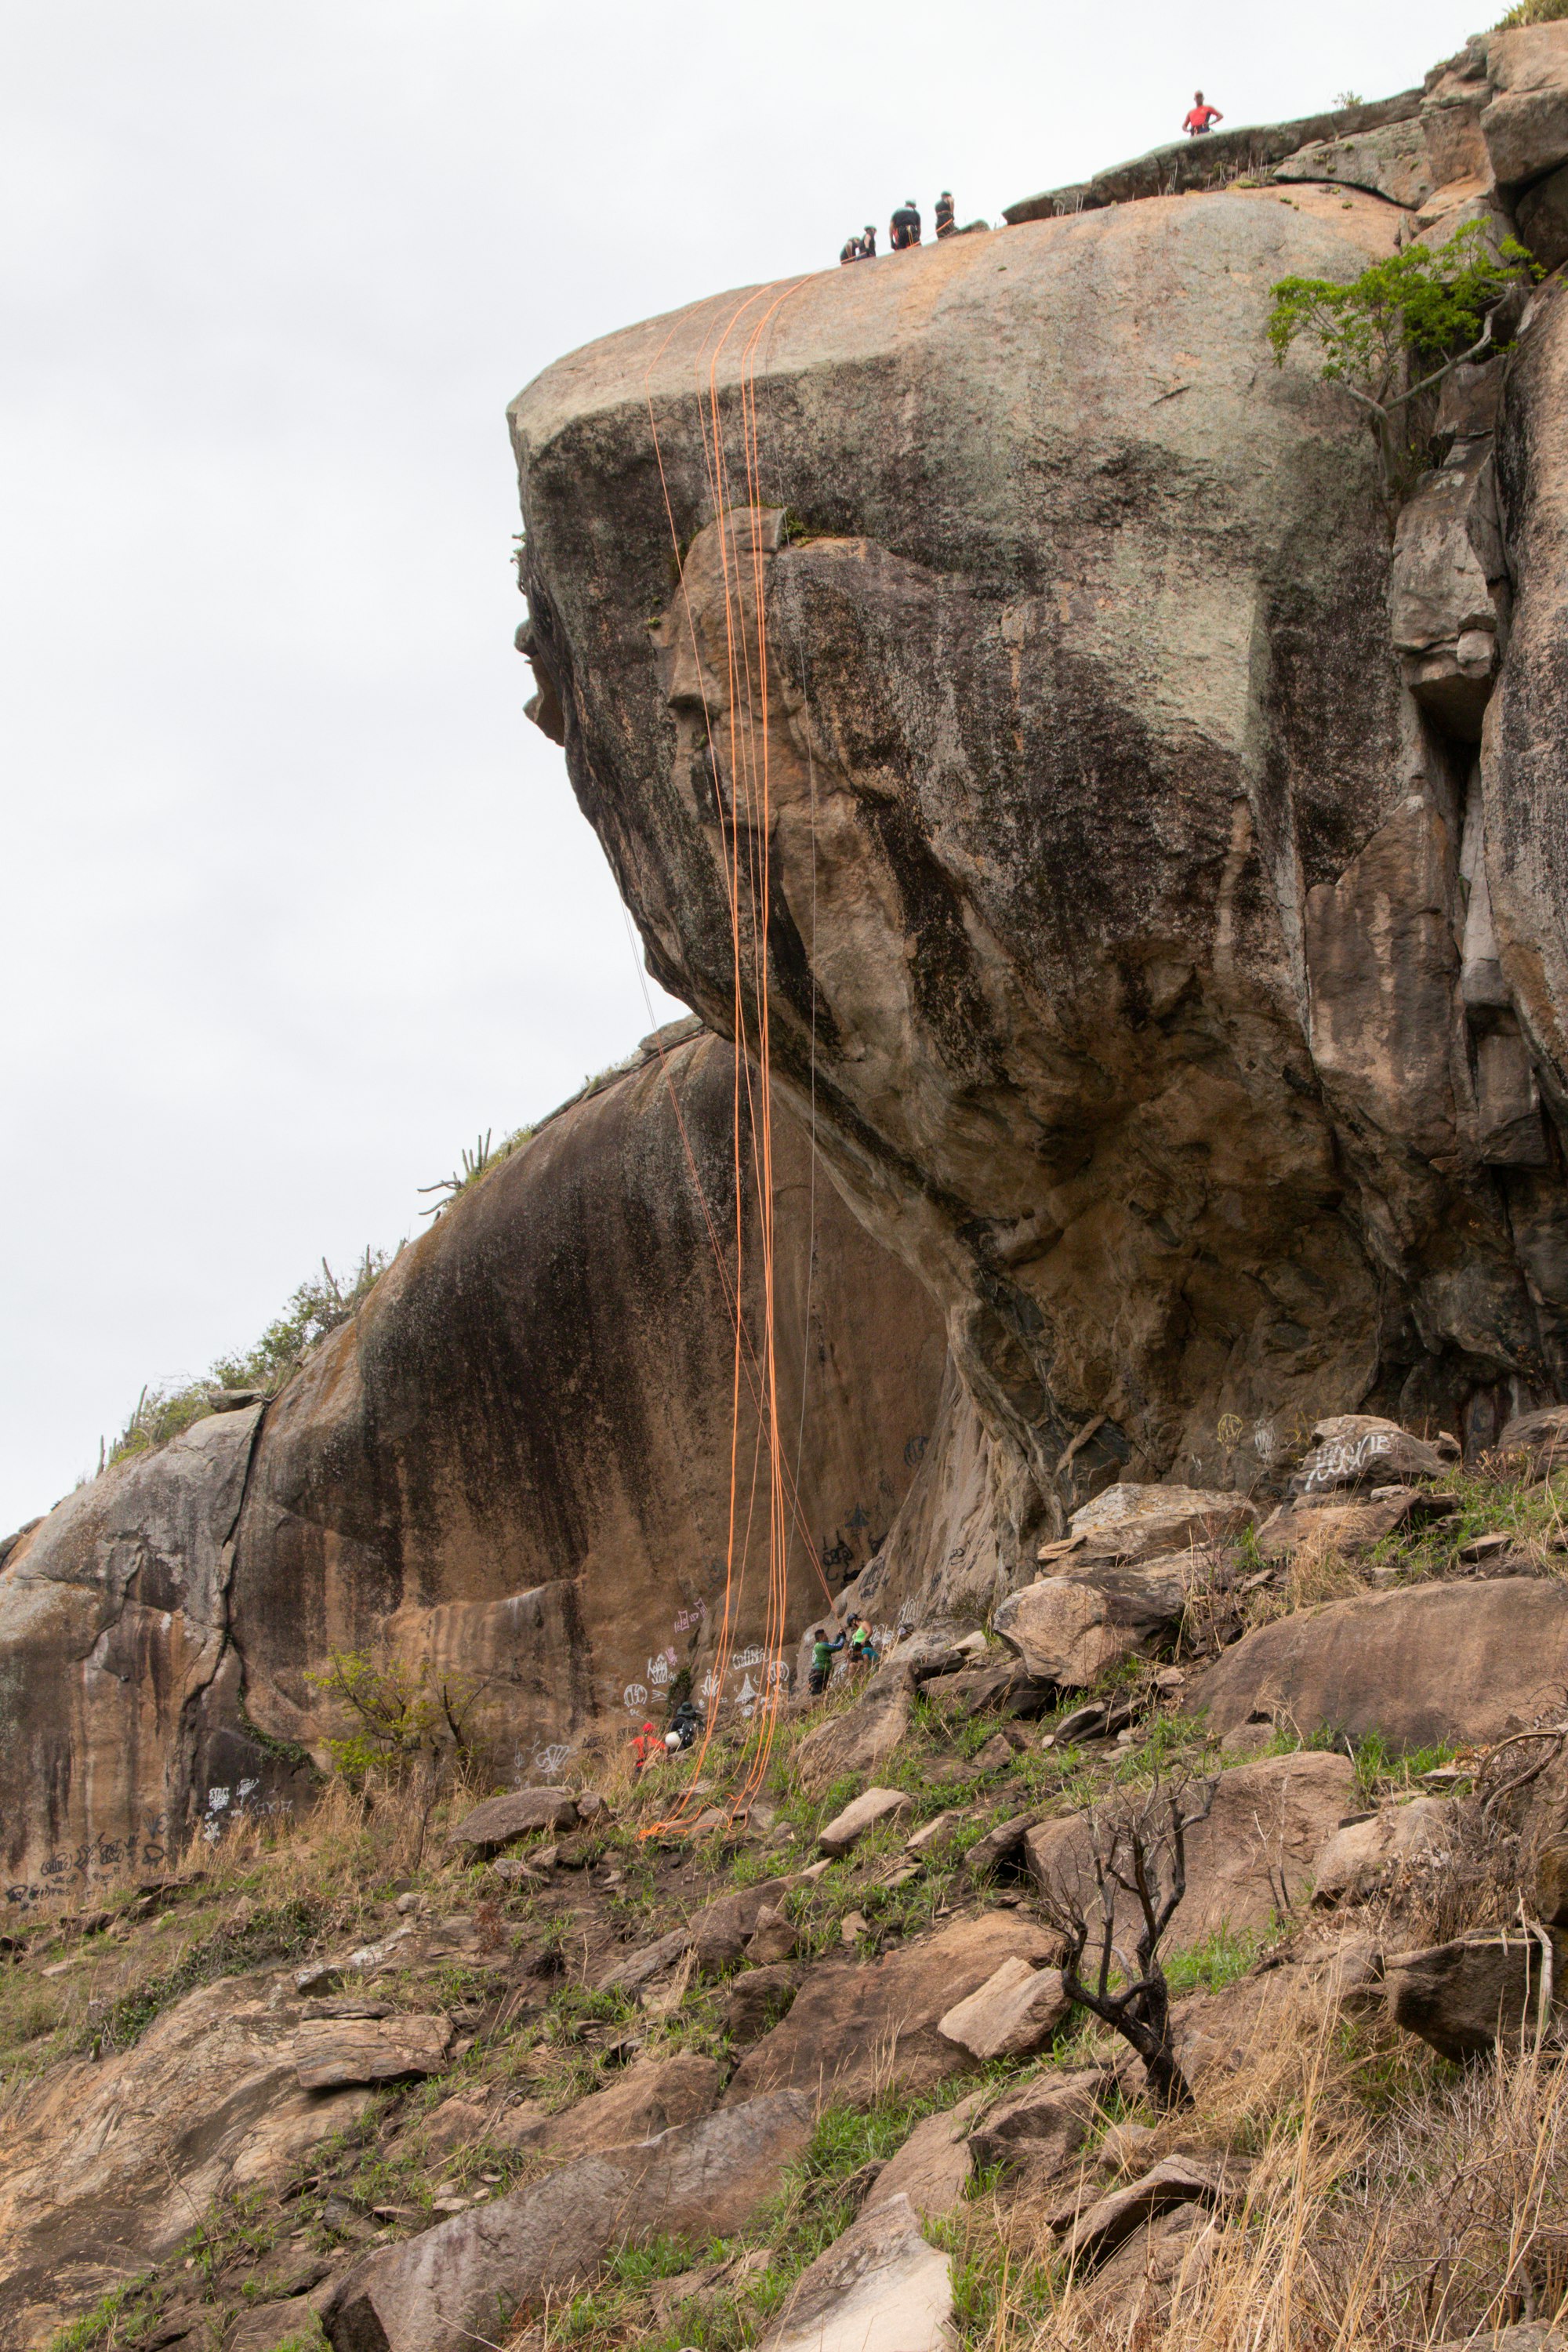
- Set up the anchor (assuming it's well away form the edge). The anchor is the point at which you will attach the rope to the top of the cliff or other descent. It is important to choose a strong anchor point that is suitable for the type of equipment you are using. See SERENE and ERNEST. There's so much that goes into anchor building and we won't get into it in the article.
Note that if you are close to the cliff's edge, you should have a falls resistant - tied to the rope.
For the basic abseil, you won't need to retrieve your rope and can walk back around to de-rig. However, in disciplines such as canyoning and rock climbing, you'll need to know how to set a retrievable anchor. The important thing is to always inspect your anchor. - Tie the rope to the anchor. There are several knots that can be used for this purpose, including the figure-eight knot and the fisherman's knot in the end of the rope. It is important to use a knot that is secure and rated for life support. Before throwing the rope off the edge, yell "rope" and wait a few seconds. Then proceed. There is a bit of a knack to it on windy cliff edges.
- Put on the harness. The harness is worn around the waist and legs and is used to attach you to the rope. Make sure the harness is put on correctly, fits properly, and that all buckles and straps are tightened correctly.
- Set up the belay device. The belay device is used to control the rope during the descent. There are several types of belay devices, including the figure-eight and the tubular belay device. Always follow the manufacturer's instructions for setting up the device and for maintenance.
- Use a prusik as a thirdhand / autoblock or have someone top belay or fireman belay you.
- Attach the carabiners. The carabiners are used to connect the rope and the belay device to the harness. Make sure the carabiners are properly closed and locked and that the rope is not twisted.
- Mini test abseil. Double-check that the carabiners go through everything required. While on safety, do a short, mini test abseil to check your system before trusting your life to it.
- Make sure your hair, clothing and anything else are tied back and away from the devices. Position yourself at the top of the cliff. Stand facing the cliff with your back to the cliff. Hold the rope in both hands, with one hand above the other. be mindful not to have your hands too close to the device.
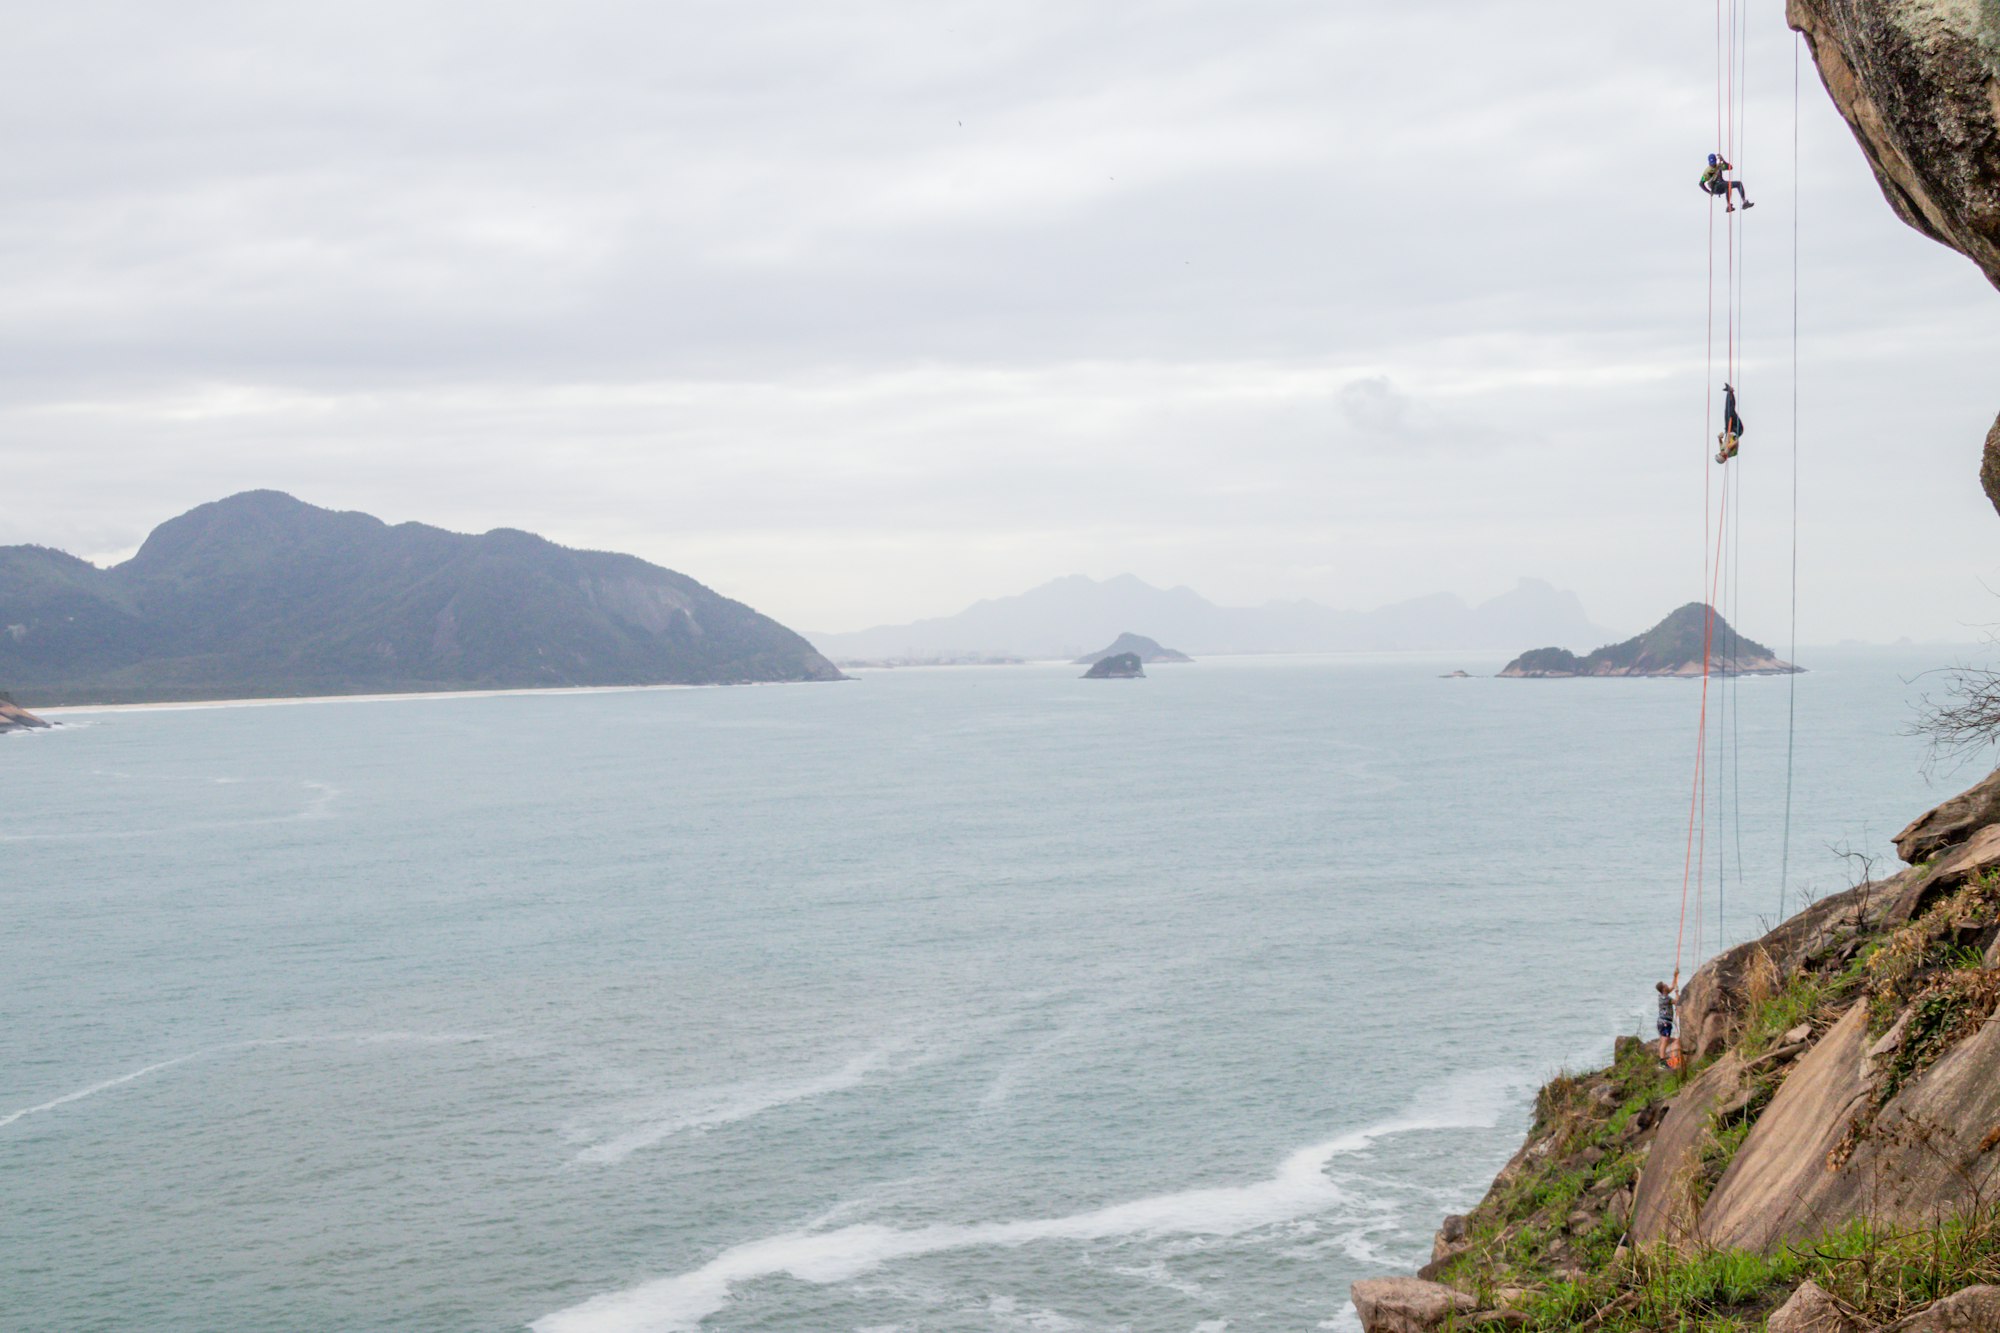
- Begin the descent. Lean back slightly and walk backwards down the cliff, using your hands on the rope to control the speed of the descent. Keep your feet close to the cliff and your legs wide and high to help with balance.
- To stop the descent, hold the rope firmly with both hands and plant your feet firmly on the cliff.
- Remove the equipment. Once you have reached the bottom of the cliff, carefully remove the belay device and carabiners. Note that they can become hot from the friction on long descents. Communication is key! If you're with other people, use the appropriate language such as "Off Rope".
- Double-check all equipment to make sure it is in good condition before packing it away. Store the gear in the appropriate location.
Abseiling can be a thrilling and rewarding experience and can open up a lot more adventure possibilities, however, it is important to always prioritise safety. Make sure to follow these steps and seek the guidance of an experienced instructor if you are new to the activity. As we've said in other articles on this website, continue to learn and improve and don't put yourself and others at risk. Human error is the number one cause of roped accidents.
That being said, with the right equipment, technique, and safety procedures, you can enjoy a successful and enjoyable abseiling experience.
This article, and all other articles, are for entertainment purposes only and are not to be used as a guide. Please see our Disclaimer for more information.